The airplane is now in its new and permanent home! Most projects do not move to the airport as early as this, but Diane and I have been able to purchase a home on an airstrip. The project now lives in a hangar, and all I have to do to continue building the airplane is to walk out to the attached garage/hangar. Of course, there is the odd house-related project that needs to get done. Nothing major. Just fixing poorly-done house wiring, or repairing leaky plumbing, or dealing with drainage problems. Maybe a bit of siding needs to get put up, as well as finishing interior painting and trim work. Shouldn't take any time at all ...
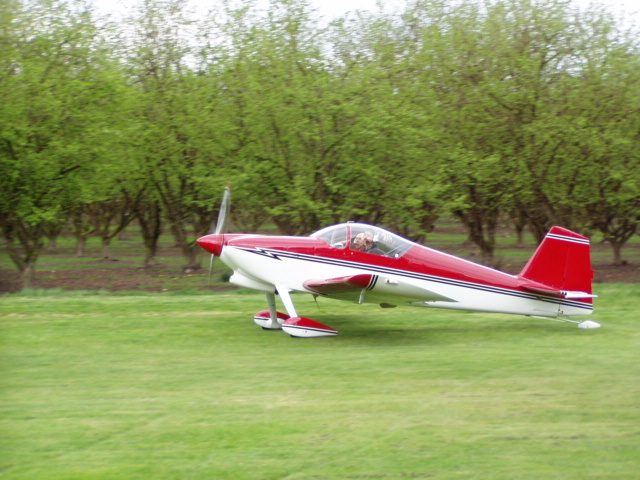
Randall Henderson in his immaculate RV-6 was our first fly-in visitor.
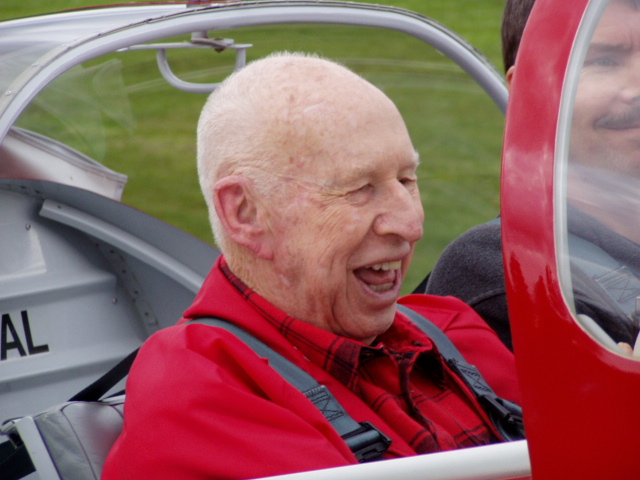
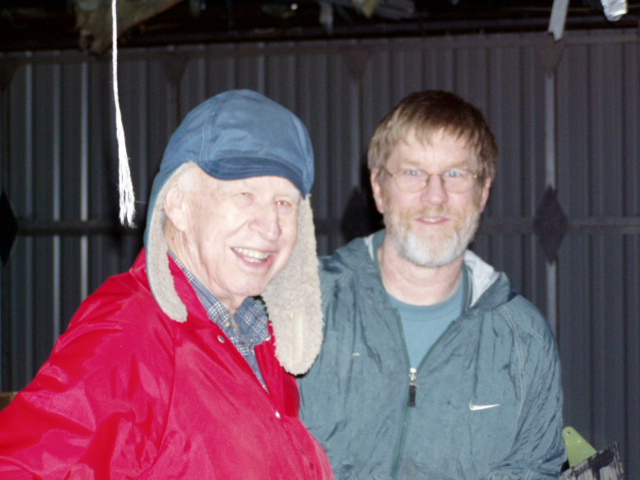
Randall gave my Dad his first ride in an RV. I think he liked it!
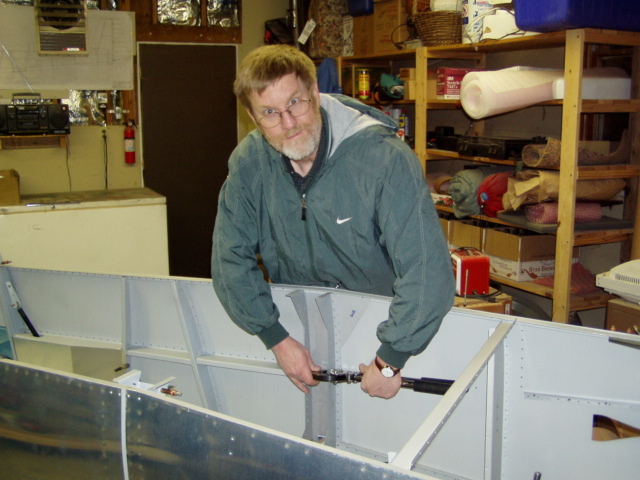
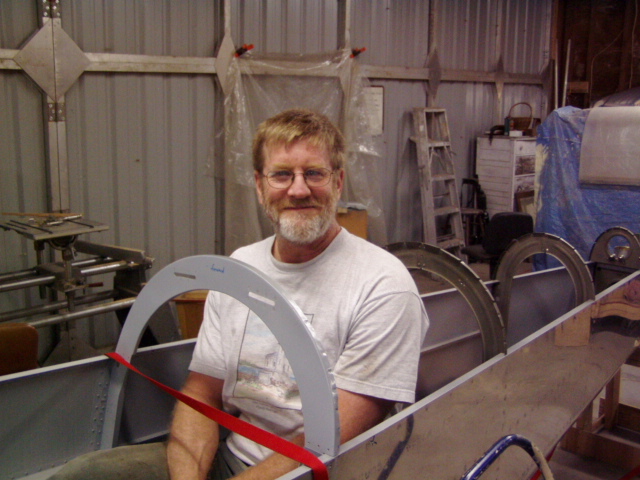
The moving gang. From left to right: RV-7A builder and CFI James Jula, friend Wayne Holcomb, father Art Fogg and brother Larry Fogg.
Art again ... the odd looking one to the right would be your's truly.
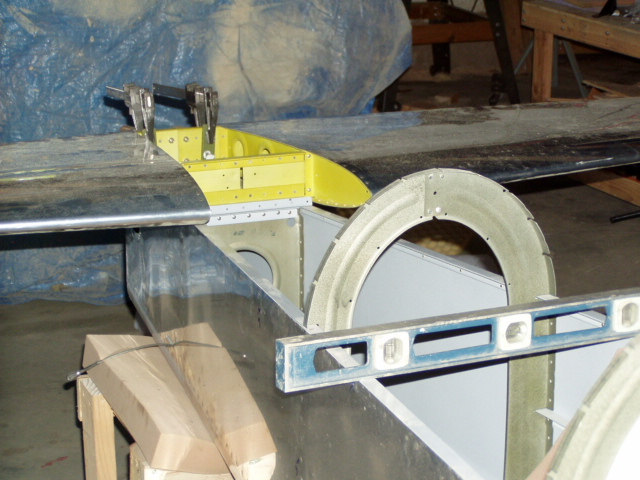
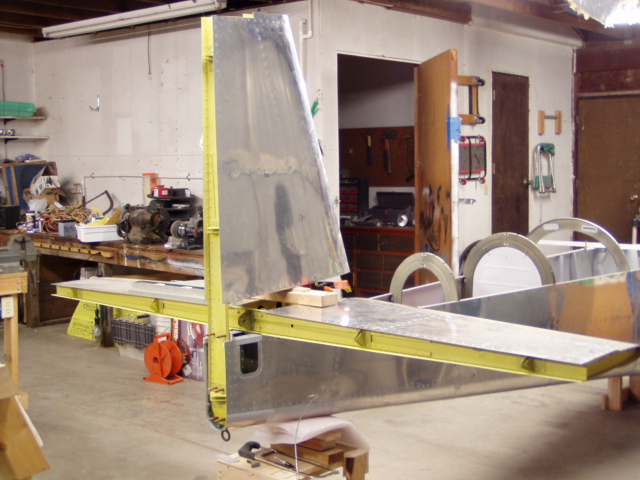
After the fuselage was leveled, the horizontal stabilizer was clamped in place.
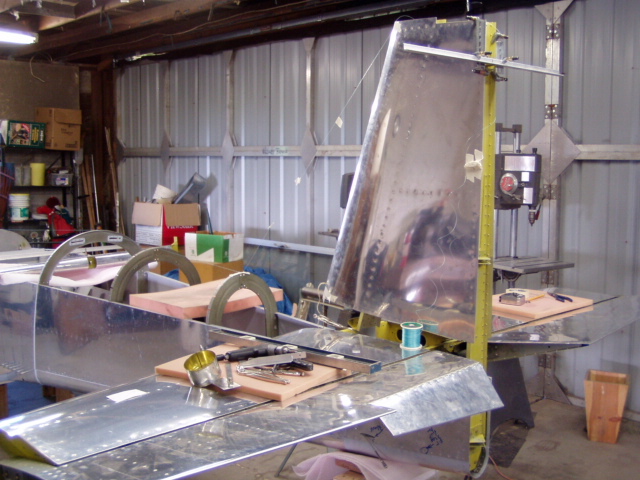
Next, the vertical stabilizer gets attached.
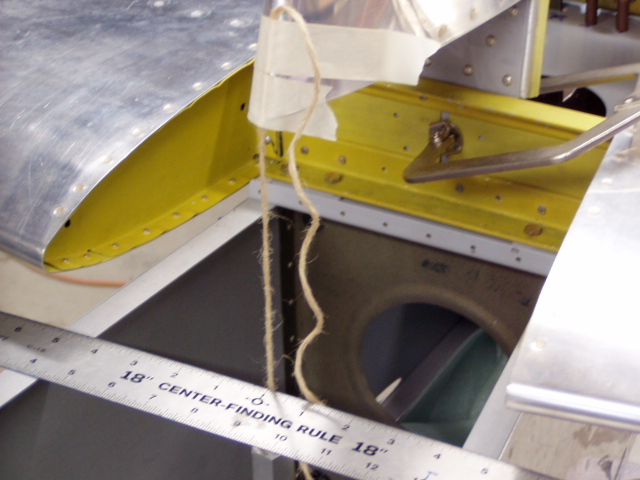
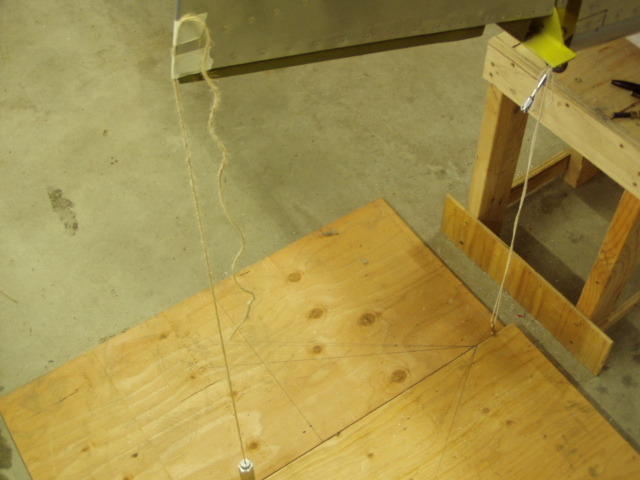
A plumb bob helped to center the leading edge of the vertical stab.
Click here to add your text.
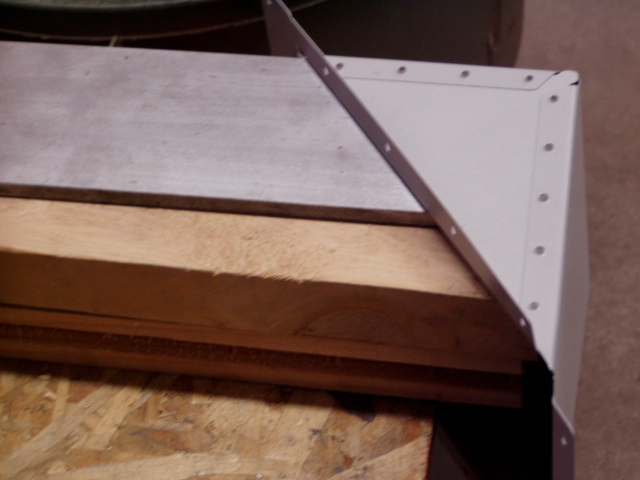
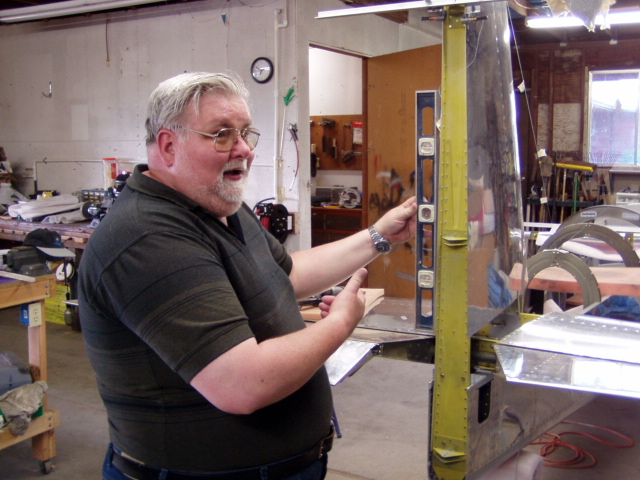
How did we know that the vertical stab was really vertical? Friend Ken Foote came up with the technique ... a level placed against a precision crafted spacer.
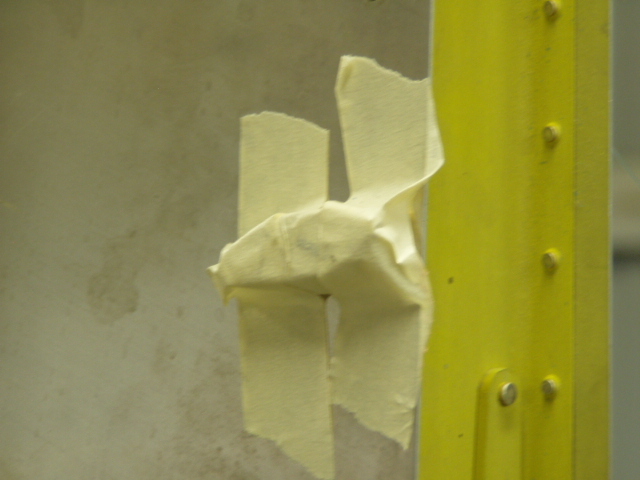
And a closeup of that precision spacer, consisting of an unspecified quantity of joinery biscuits (I occasionally do woodwork as well) wrapped in just the right number of layers of tape.
A plumb bob helps to measure the amount of rudder travel.
Attaching the elevators
Move the sticks forward and the elevators go down ...
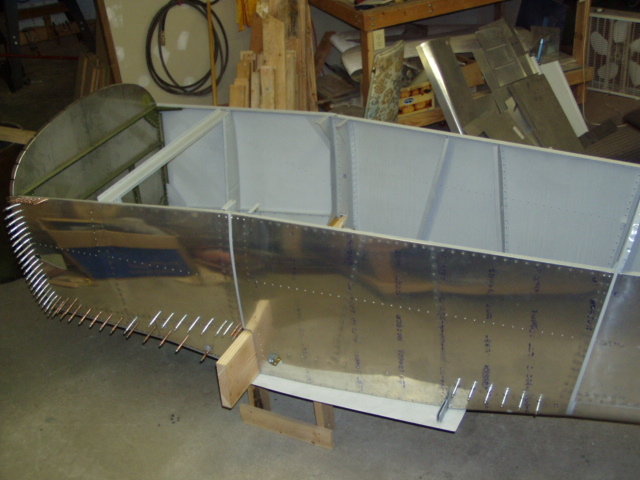
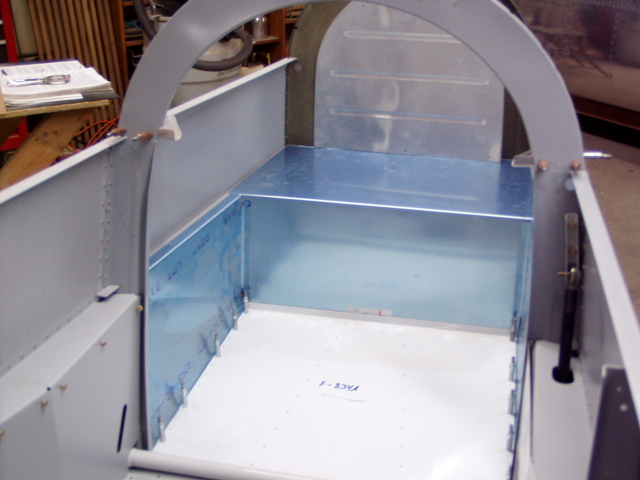
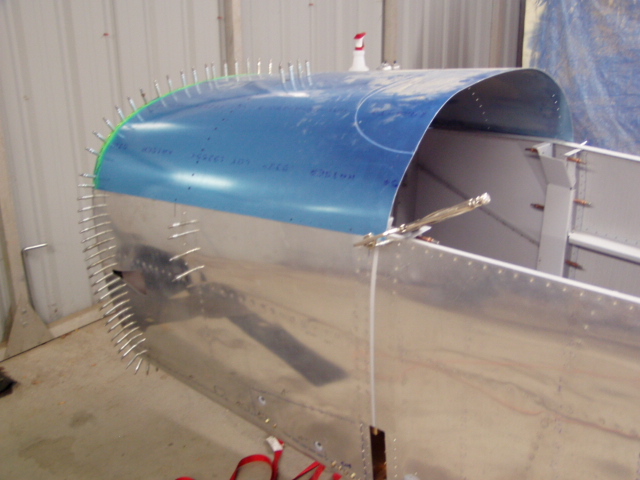
Getting ready to drill the aft top skin on. After building temporary floors that sit on the lower longerons, this afforded me the first chance to sit in the airplane! Normally, I won't sit in the aft baggage box ...
The aft top skin is drilled on.
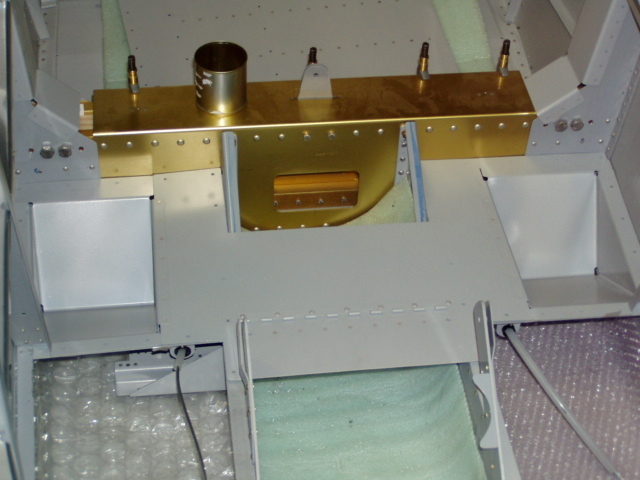
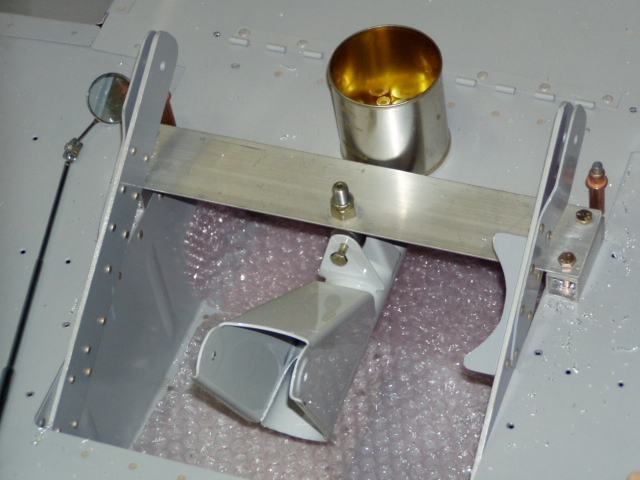
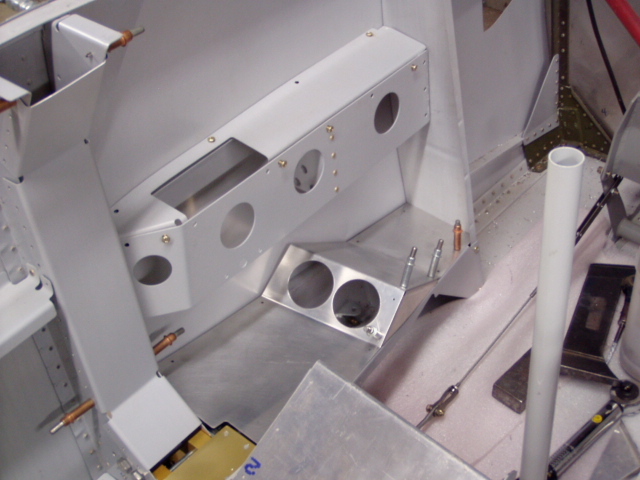
Drilling holes for 2 of Van's fuel guages
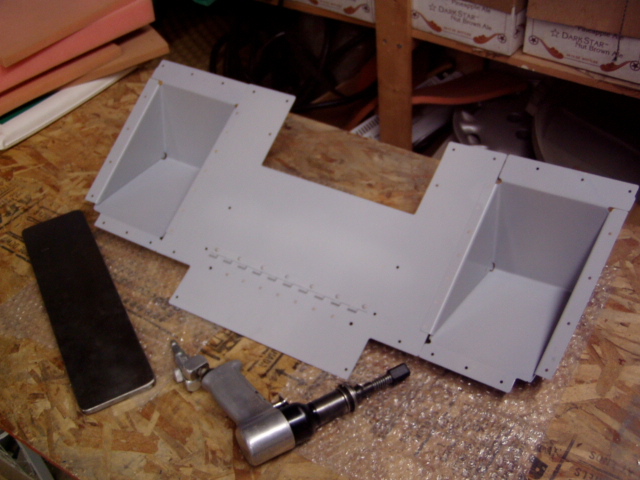
Test fitting the subpanel
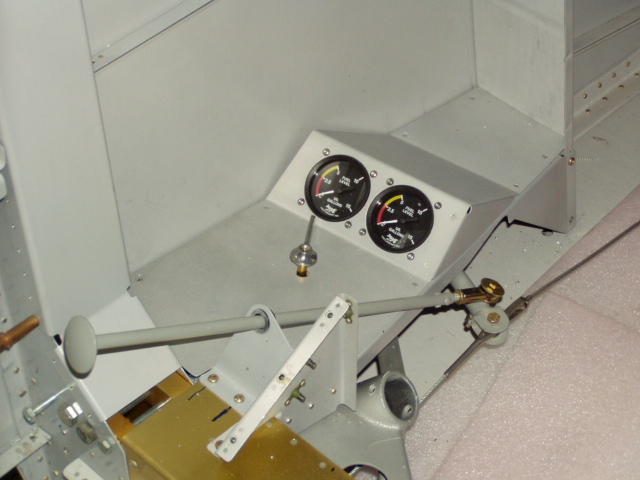
Guages and selector installed
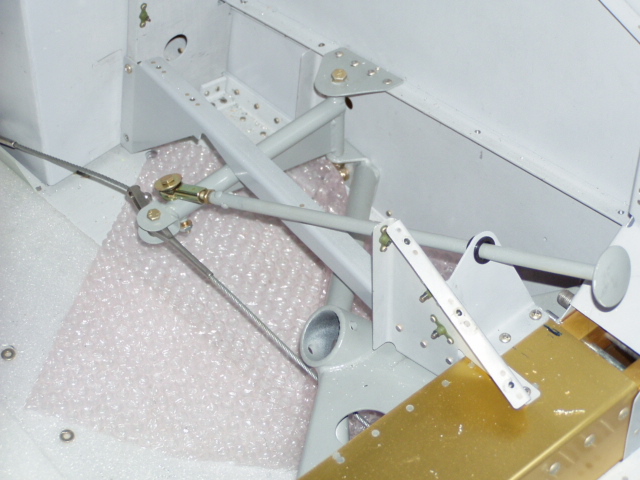
View of the rear seat rudder pedal assembly
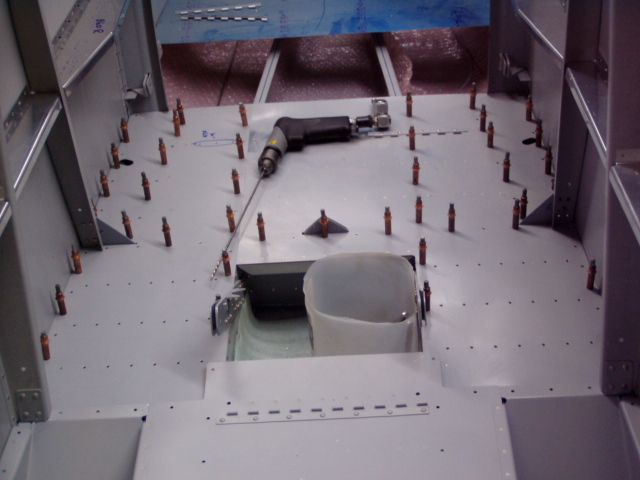
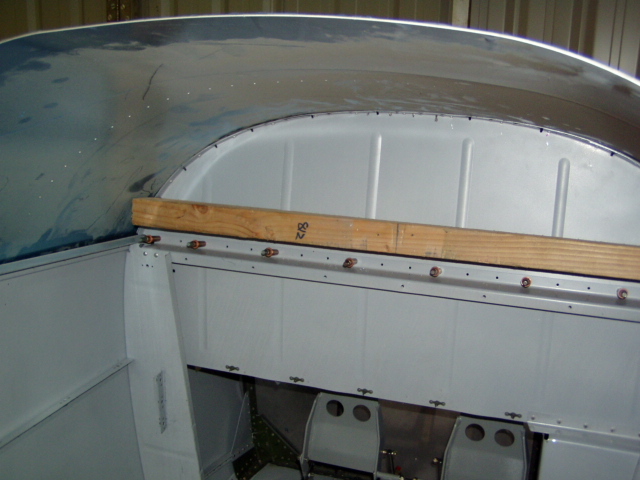
Starting to drill the forward topskin
I had trouble lining this bulkhead up with the holes in the skin. A 2x4 screwed in place helps keep it aligned.
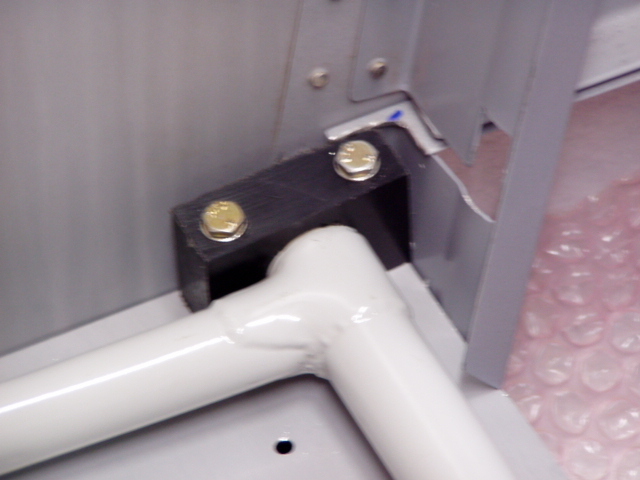
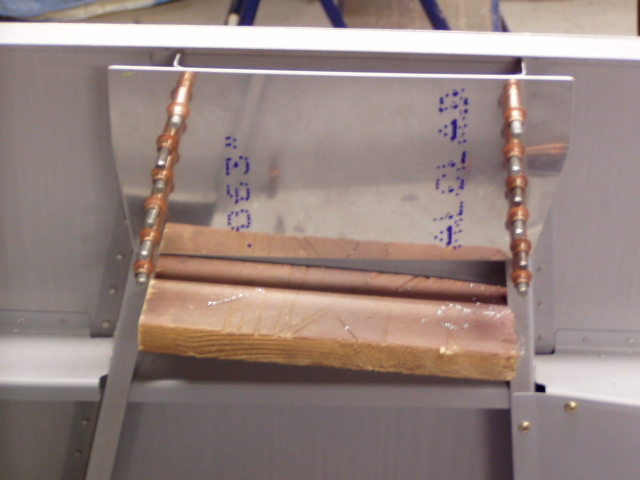
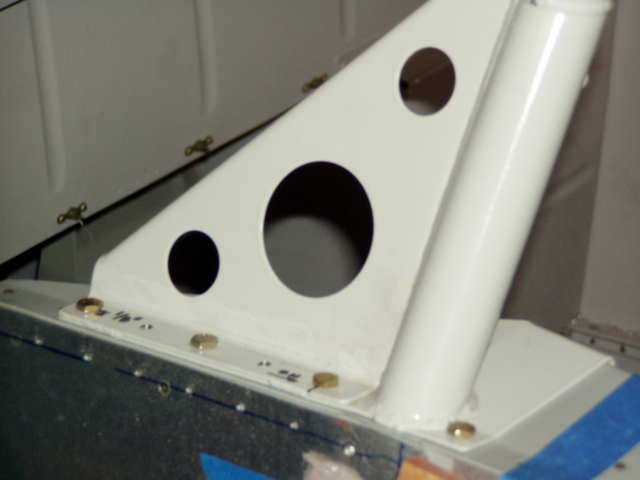
This plate supports the weldment behind the forward seat. The plans say that the bulkheads must be coerced into place ... note the high-tech coercion!
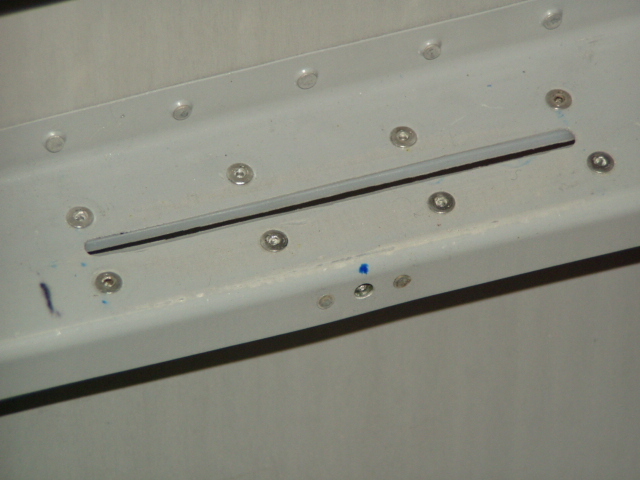
This slot was cut for the rear seat throttle arm
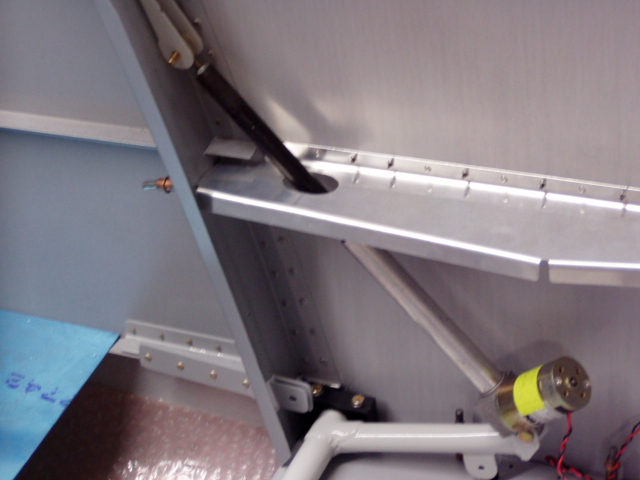
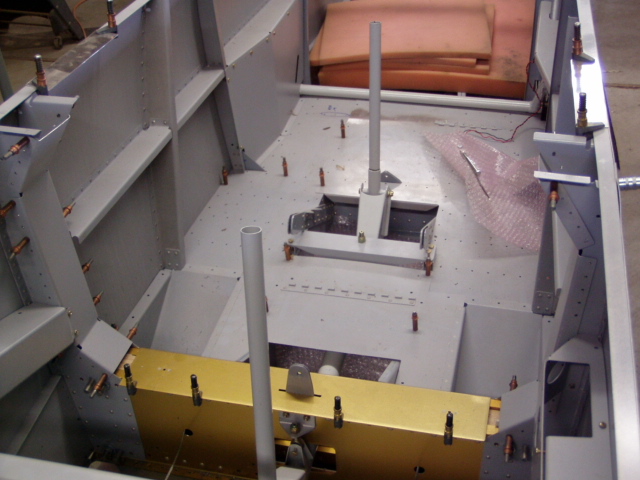
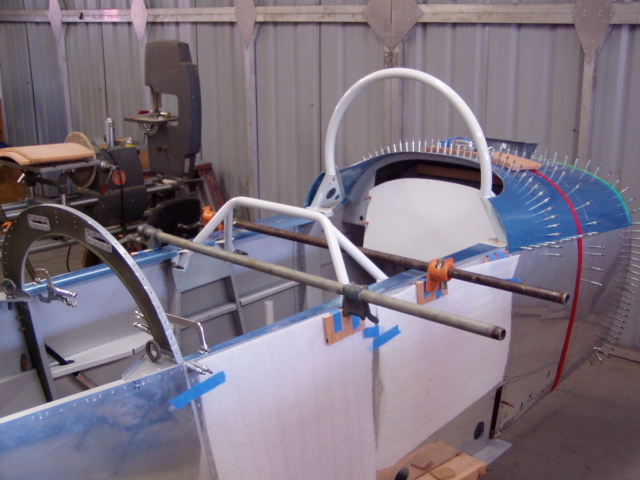
Fitting the two weldments. The clamps are an indication that my fuselage is just a tad wide at the top. The foam taped to the side is to prevent more hangar rash due to belt buckles (Ah! the voice of experience!). Also visible is the panel in a lowered position, making it easier to move the support structure around for drilling.
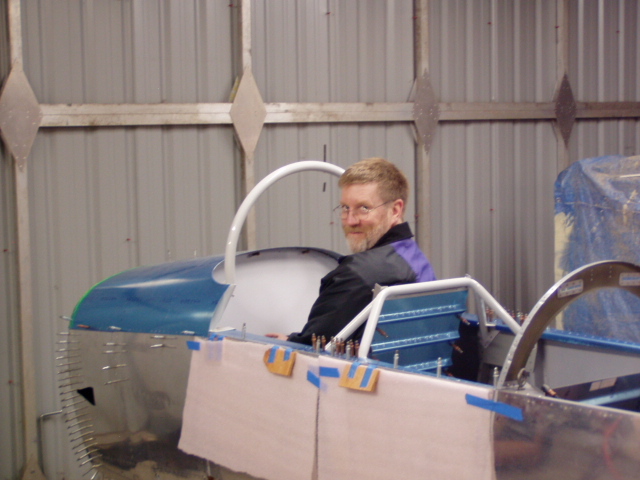
Someday a pilot will be sitting behind that roll bar!
Seated in the front seat for the first time!
Clear!
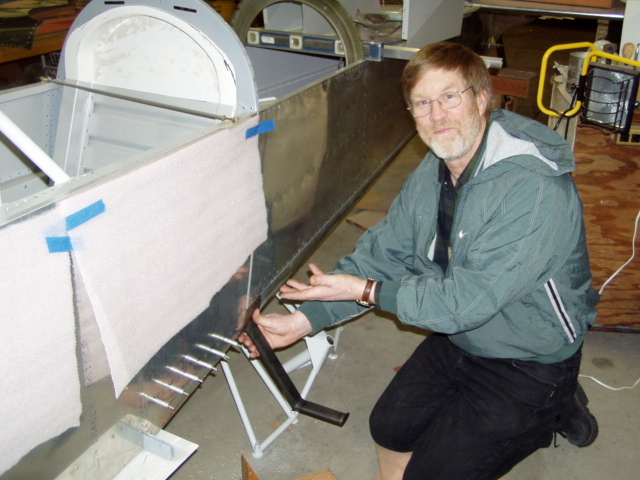
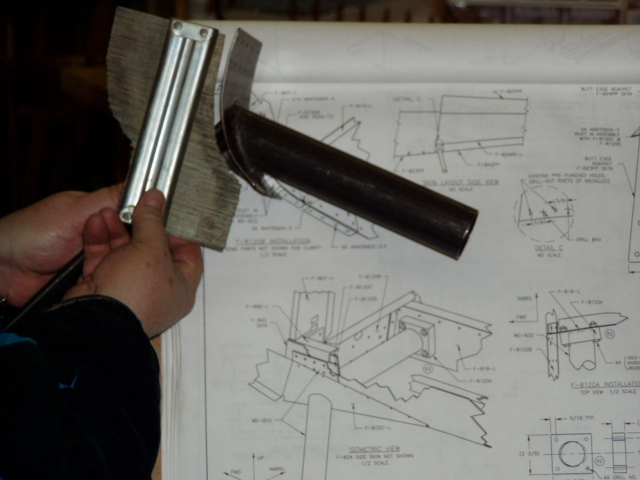
Ready to drill the step to the fuselage. My friend Ken came up with a good way to match the curve of the fuselage ... a woodworking tool that I haven't used in years.
It fit very nicely!
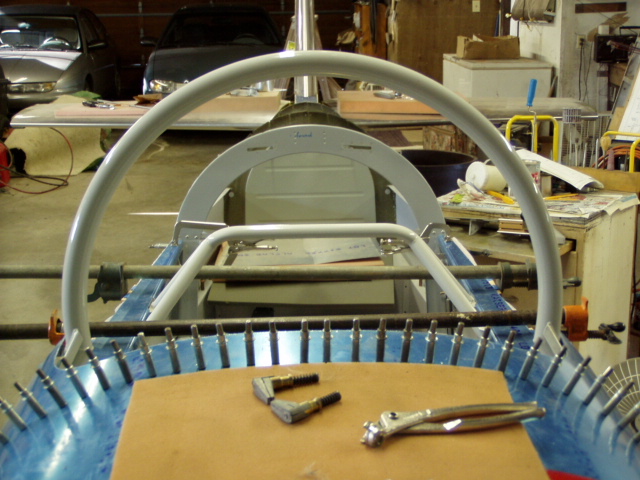
The front roll bar is drilled on ...
What's this? Two sets of wings? Could this be the start of the world's first RV biplane?? Perhaps an RV-16?
A more likely possibility is that the wings on the left belong to friend James Jula and that they needed a temporary home until James is in his new house ...
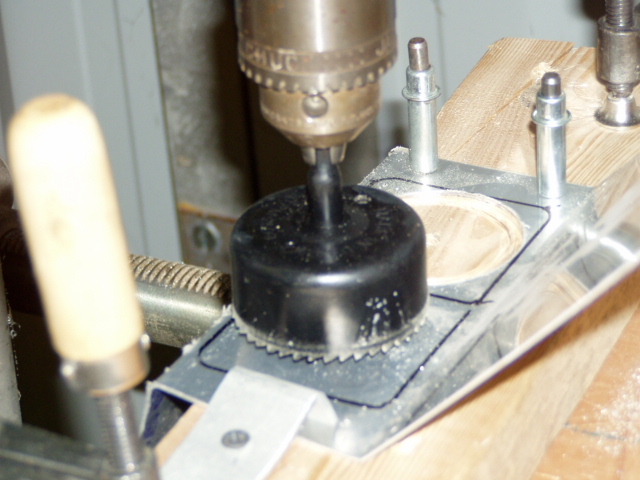
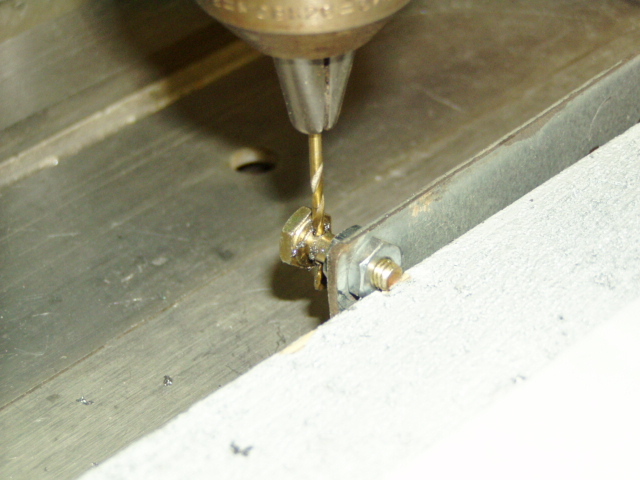
Drilling a #44 hole through an AN3 bolt. Double nutted through a hole in some steel angle and clamped to the table, this took some careful alignment before the hole could be drilled. This bolt is used in the manual aileron trim sistem.