The Empennage kit arrived in November of 1997 and was started in half of a double car garage. A move forced the project to be put on hold for close to a year. The kit was completed in November of 1999.
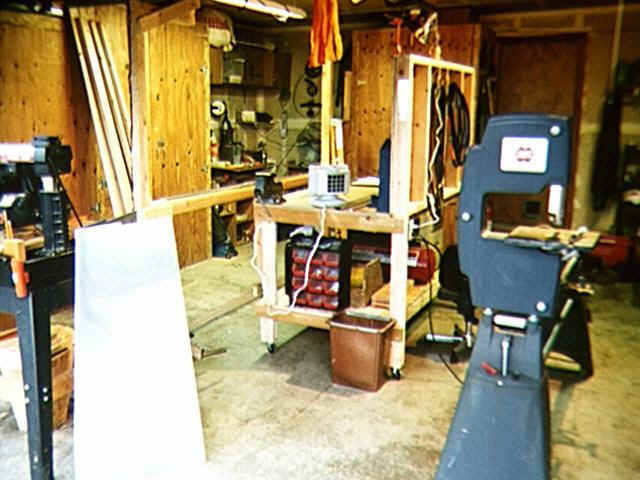
Preparing the garage. Benches and tools on wheels so one car will still fit inside.
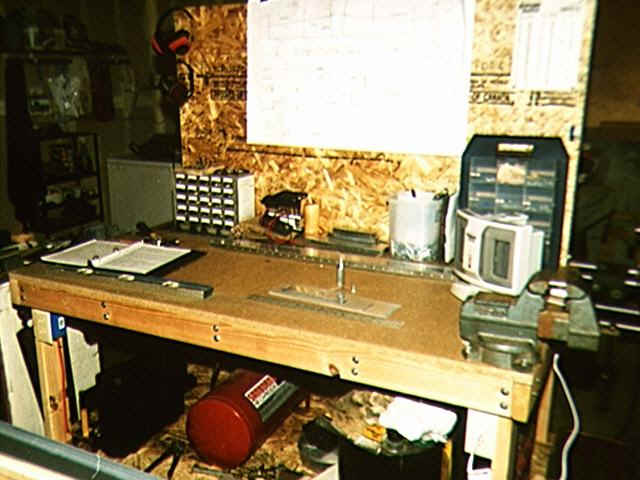
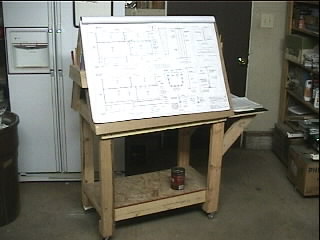
First workbench. Place for plans and small parts. Wired for power and build on casters.
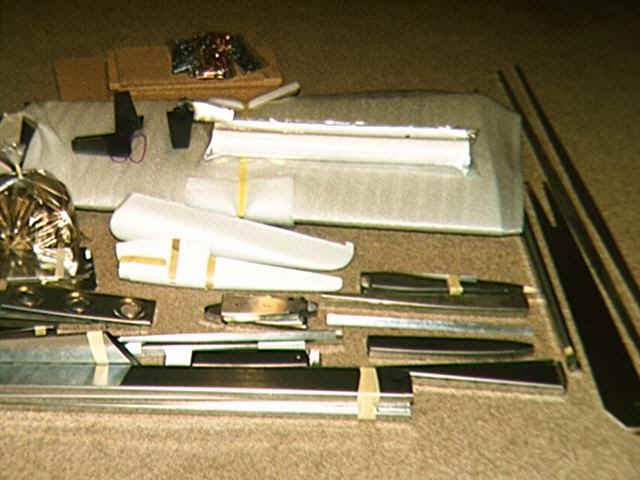
The empennage kit!
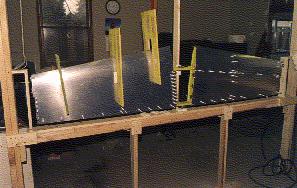
Drilling the horizontal stabilizer skins to the skeleton. The wooden clamps hold the skins tight during drilling.
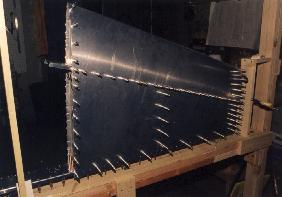
Riveting the horizontal stabilizer skins. The top side is relatively easy to buck. The bottom side requires the bucker to reach up underneath the skins.
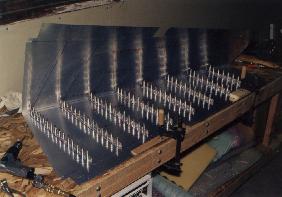
Drilling the stiffeners onto the rudder skin.
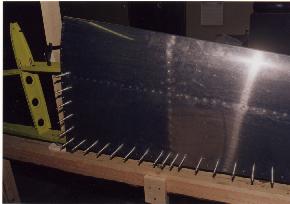
Vertical stabilizer skin, drilled to the skeleton. It is now ready to disassemble, deburr the holes, dimple the holes, prime the interior, then rivet together.
I build a cart to hold the plans and assembly manual. A shelf below for clecoes and some pen and pencil holders on the top.